The Definitive Guide to Lubing Switches and Stabilizers
Applying aftermarket lubricant to your mechanical switches and stabilizers is the single most transformative modification you can perform. It eliminates friction, eradicates metallic spring ping, and deepens acoustic profiles.
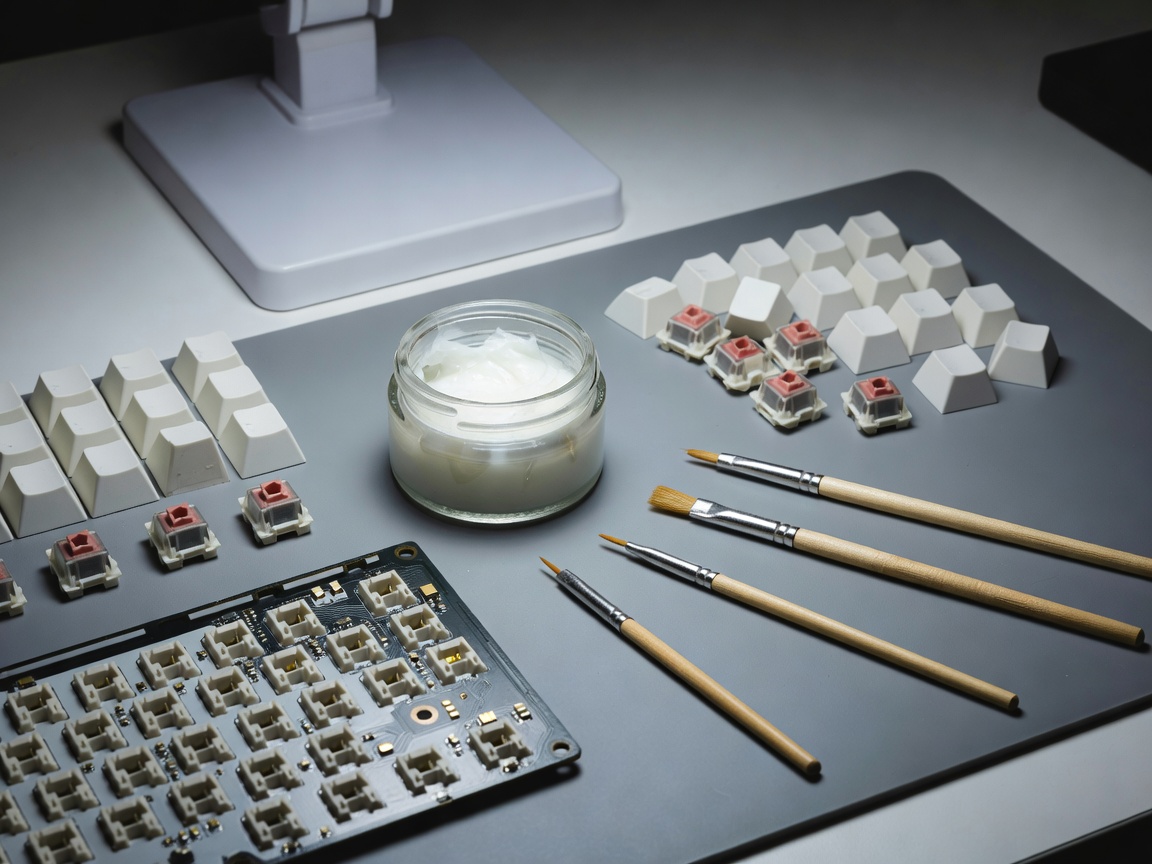
Why Lubricate?
Out of the factory, mechanical switches consist of dry plastic components grinding against one another, supported by an unlubricated metallic spring. This results in scratchiness during the key travel and a high-pitched metallic reverberation (spring ping) upon release. Manually disassembling and applying specialized industrial lubricants dampens these harsh frequencies and reduces dynamic friction, creating a butter-smooth typing sensation.
Choosing the Right Lubricant
Not all lubricants are created equal, and applying the wrong viscosity can ruin a batch of switches. Keyboard enthusiasts rely on a few specific grades of fluorinated greases and oils.
- Krytox 205g0: A thick, semi-fluid grease. It is the gold standard for linear switches and stabilizers. Its high viscosity fills in micro-imperfections in the plastic, delivering ultimate smoothness and a deep, muted bottom-out sound.
- Tribosys 3203 / 3204: Thinner, more fluid greases. These are highly recommended for tactile switches. If a lubricant is too thick, applying it to the tactile legs of a stem will dampen or completely erase the tactile bump. A thinner lube prevents this while still improving smoothness.
- Krytox GPL 105: A purely liquid oil used almost exclusively for springs. Because applying grease to dozens of tiny springs by brush is tedious, builders place springs into a small bag with a few drops of GPL 105 and shake them rapidly, providing an even, micro-thin coating that instantly kills metallic ping.
Tools of the Trade
Before beginning, you will need a dedicated workspace and a specific set of tools. A switch opener (either MX or Kailh style) is essential for popping the housing clips without breaking them. You will also need a size 0 or 00 fine-tipped synthetic paintbrush, a stem holder (or a four-prong jewelers claw) to grip the stems without getting grease on your hands, and non-magnetic tweezers.
The Application Process
The golden rule of keyboard lubing is: Less is more. You can always add more lube, but removing excess is a nightmare. The brush should only have a slight glisten on its bristles—there should be no visible globs of white grease.
Step 1: The Bottom Housing. Using your brush, apply an extremely light, even coat to the inner slider rails (where the stem moves up and down). Sweep the brush across the central cylindrical pole guide.
Step 2: The Spring. If you haven't bag-lubed the springs with oil, use your brush to gently coat the absolute top and bottom rings of the spring where it contacts the plastic housings. Place the spring back onto the pole guide.
Step 3: The Stem. Grip the cross-mount top of the stem with your holder. Paint all four external faces of the stem in broad, light strokes. For linear switches, coat the legs entirely. For tactile switches, avoid the legs entirely. Lastly, give the bottom tip of the central pole a slight brush.
Step 4: Reassembly. Place the top housing directly over the stem and press down firmly until the clips snap securely back into the bottom housing. Test the switch immediately by pressing it repeatedly near your ear to listen for inconsistencies.
Taming Stabilizers
A perfectly lubed board can still be ruined by a rattling spacebar. Stabilizers dictate the sound of your modifier keys. The plastic housings of stabilizers should be lightly coated with Krytox 205g0 where the interior stem travels. However, the metal wire itself requires extreme intervention. The ends of the metal wire must be coated in a much thicker paste—often Dielectric Grease or heavy applications of 205g0—before being clipped into the housing. This thick barrier prevents the metal wire from ever violently impacting the inner plastic walls, eliminating the notorious "rattle" that plagues mass-market keyboards.